
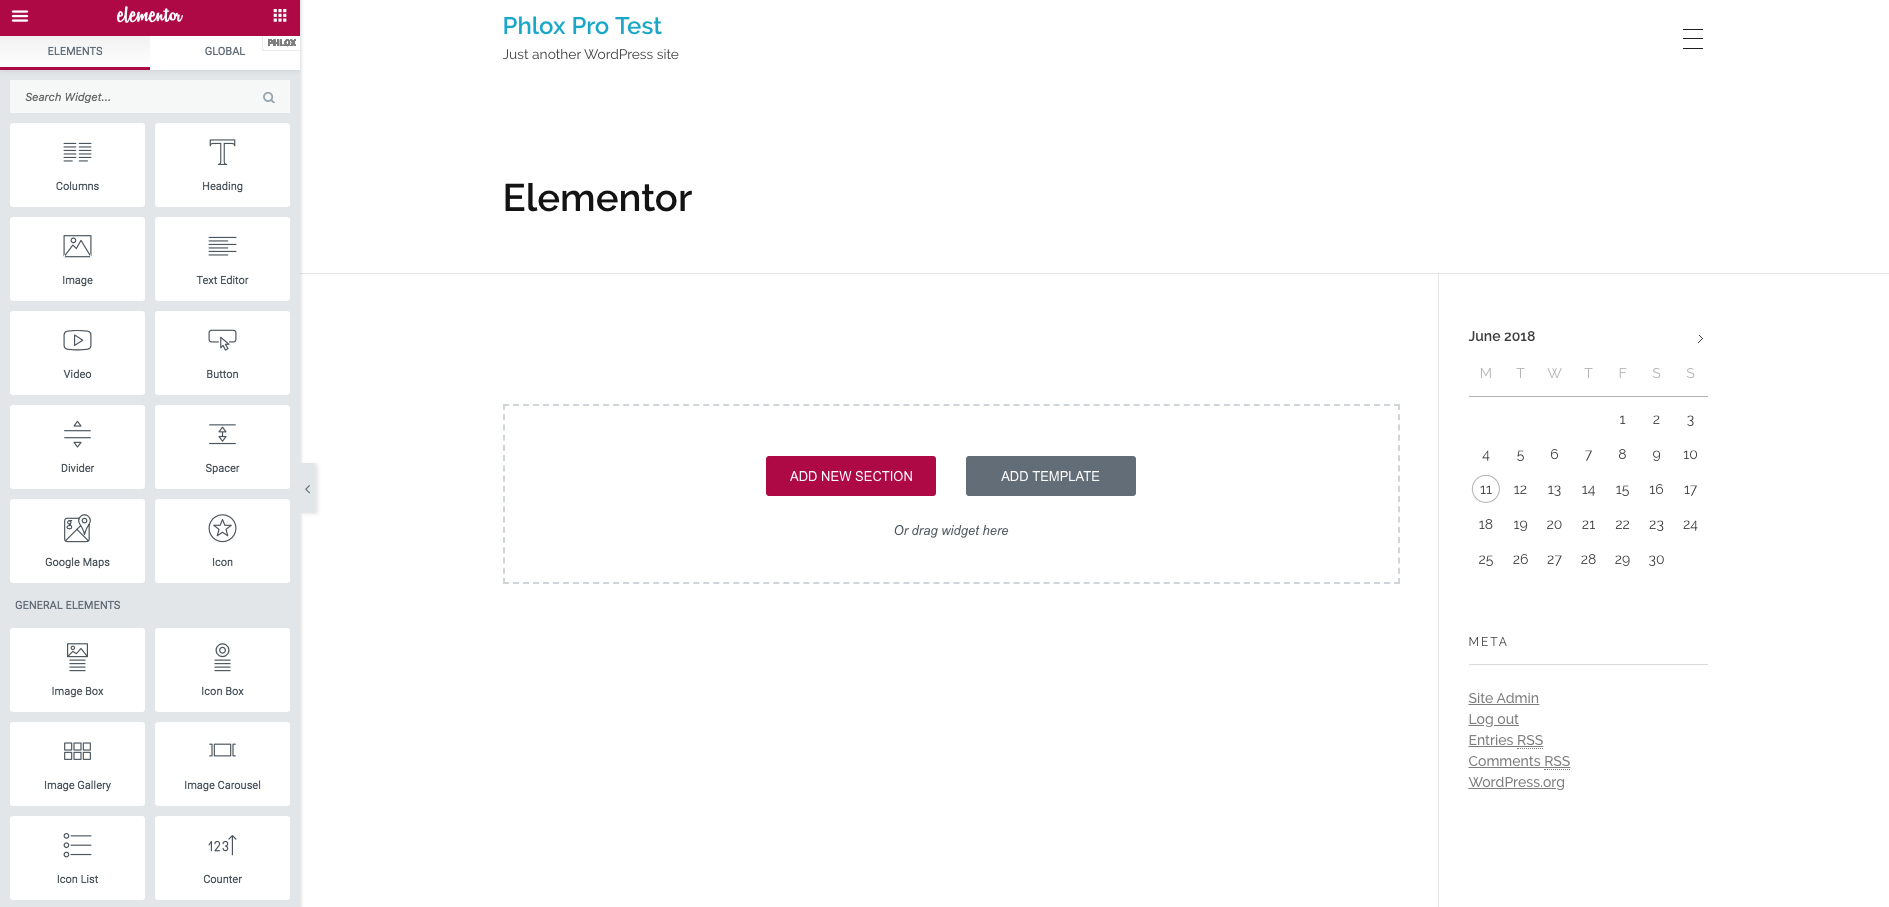
Here's a myth I hear constantly from frontend developers moving into WordPress: "You need Elementor Pro to use custom HTML and CSS." It's not true — not even close. The free version of Elementor ships with an HTML widget that accepts raw markup, inline styles, and even JavaScript, and WordPress itself gives you several free places to put site-wide CSS. I've migrated entire hand-coded landing pages into Elementor without spending a cent.
That said, there's a right way and a wrong way to do this. The wrong way — which I see everywhere — is dumping an entire page into a single HTML widget and calling it done. It "works," but you've just built a page that nobody can edit without knowing HTML, which defeats the entire point of using a page builder. This guide covers the full free workflow: the quick method for dropping code in, the smarter method for converting HTML into real editable Elementor structure, and the free tools that make both painless.
What the Free Version Actually Gives You (and What It Doesn't)
Let's clear up the confusion first, because Elementor's feature gating is genuinely confusing. In the free version you get:
- The HTML widget — a blank canvas widget where you can paste any HTML, CSS inside
<style>tags, and JavaScript inside<script>tags. It's fully functional, not a trial. - Custom CSS classes and IDs — on any widget, section, or container, the Advanced tab lets you add your own CSS classes and element IDs for free. This is the hook your stylesheets grab onto.
- WordPress Customizer's "Additional CSS" — under Appearance → Customize, WordPress core gives you a site-wide CSS box. Free, always available, no plugin needed.
What you don't get for free is Elementor's built-in per-element Custom CSS panel (the one with the selector keyword) — that's a Pro feature. But the free ecosystem has filled that gap nicely, as we'll see. The key insight: the HTML widget plus the Customizer's Additional CSS covers 90% of real-world use cases. Everything else is convenience.
Method 1: The Quick HTML Widget Method (5 Minutes)
This is the fastest path — ideal for embedding a custom component like a pricing table, an animated hero, a testimonial slider, or any snippet you've already built in HTML/CSS.
Step 1: Prepare your code
Before touching Elementor, clean up your snippet in VS Code or any editor. The single most common failure I see is relative asset paths. Your local <img src="images/logo.png"> means nothing inside WordPress. Upload your images to the Media Library first, then replace every relative path with the full WordPress URL (something like https://yoursite.com/wp-content/uploads/2026/10/logo.png). Same for fonts, SVGs, and background images referenced in CSS. Do this before pasting — debugging broken paths inside the Elementor editor is miserable.
Step 2: Drop in the HTML widget
In the Elementor editor, search the widget panel for "HTML," drag it into your section or container, and paste your code. Here's the structure I recommend:
<style> — your component's CSS, with every selector prefixed by a unique wrapper class (e.g. .my-pricing-table) so your styles never leak into the theme or other widgets.
<div class="my-pricing-table"> — your actual HTML markup.
<script> — any JavaScript the component needs (optional).
That wrapper-class scoping is the most important habit in this entire guide. Unscoped CSS in an HTML widget applies page-wide, and six months from now you'll be debugging why your footer suddenly has rounded corners.
Step 3: Preview and fix the usual suspects
Elementor renders the HTML widget live in the editor, so you'll see problems immediately. The usual suspects: the theme's CSS overriding your styles (fix with more specific selectors or, sparingly, !important), missing responsive behavior (test tablet and mobile breakpoints right away), and JavaScript that runs before the DOM is ready (wrap it in a DOMContentLoaded listener).
One more gotcha: caching. If your styles don't appear on the live page but look fine in the editor, clear Elementor's CSS cache under Elementor → Tools → Regenerate CSS, and purge any caching plugin. This one has cost me hours over the years; now it's the first thing I check.
Method 2: Converting HTML into Real Elementor Structure (The Smart Way)
The HTML widget method is fast, but it has a real downside: the content inside is opaque to Elementor. Your client can't change a heading, swap an image, or tweak a color without editing code. If the page needs to be maintainable by non-developers — and in my experience, it always eventually does — you want native Elementor widgets instead of one big HTML blob.
This is where conversion tools come in. The workflow I use:
- Map your HTML to native widgets first. Before converting anything, sketch the mapping: each
<h1>–<h6>becomes a Heading widget, paragraphs become Text Editor widgets,<img>becomes Image widgets, links styled as buttons become Button widgets, and layout<div>s become Containers. Anything decorative or interactive that has no native equivalent — a custom animated element, a complex hover effect — stays as a small, scoped HTML widget. Native first, HTML widget only for the exceptions. - Generate the Elementor JSON. Tools like ConvertElementor take your pasted HTML and CSS and produce a native Elementor template JSON file — real containers, headings, buttons, and images, not an HTML wrapper. There are also open-source converters on GitHub (the elementor-html-css-converter project exposes REST endpoints that turn HTML plus
<style>blocks into atomic widgets) if you prefer a self-hosted pipeline. - Import via Elementor → Tools → Import/Export. Elementor's built-in template importer accepts the JSON file and recreates the full structure as an editable template. Open it, and every element is now a proper widget you can click, restyle, and rearrange.
- Move layout styles into widget settings. Here's the discipline that separates clean conversions from messy ones: padding, font sizes, colors, and flex direction belong in the widgets' Style tab settings — not in custom CSS. Reserve CSS for what Elementor genuinely can't do natively: pseudo-elements, complex selectors,
mix-blend-mode, that kind of thing.
Is this more work upfront than pasting everything into one HTML widget? Absolutely. Is it worth it the first time a client asks to "just change the headline"? Every single time.
Adding Custom CSS for Free: All Four Methods
Since per-element Custom CSS is the Pro-gated feature everyone asks about, here's the complete free toolkit:
1. Scoped <style> blocks in HTML widgets
Covered above — fastest for component-level styles. Keep the selectors scoped to your wrapper class and you're safe.
2. WordPress Customizer → Additional CSS
For site-wide styles, go to Appearance → Customize → Additional CSS. This is WordPress core, always free, and perfect for global rules: custom fonts, overriding theme defaults, utility classes you reuse across pages. The Customizer even shows a live preview as you type.
3. A code snippets plugin (WPCode)
WPCode (formerly Insert Headers and Footers) is the free plugin I recommend when CSS needs conditions — load these styles only on certain pages, or pair CSS with a small JavaScript snippet. It keeps custom code out of the theme entirely, so theme updates never wipe your work. There's also Simple Custom CSS and JS, which does exactly what the name says with zero fuss.
4. "Advanced Custom CSS for Elementor" plugin
This is the hidden gem. The free Advanced Custom CSS for Elementor plugin (on WordPress.org) adds a Custom CSS panel to the Advanced tab of every Elementor widget — essentially replicating the Pro feature, including the selector keyword for widget-scoped CSS and separate fields for desktop, tablet, and mobile. If the missing Pro CSS box is the only thing pushing you toward a paid plan, install this first and see if you still need Pro. Most people don't.
Responsive Design: Don't Skip This
Hand-written HTML is often built desktop-first, and Elementor pages live or die on mobile. After importing, go through every section in Elementor's responsive mode (the device icons in the bottom bar) and check three things: text sizes that were fixed in pixels and now overflow on small screens, multi-column layouts that need to stack (set the container direction per device), and absolutely-positioned decorative elements that drift off-canvas on mobile. The Advanced Custom CSS plugin's per-device fields are perfect for mobile-only overrides without touching your desktop styles.
My rule of thumb: never ship an imported page you haven't viewed at 390px wide. More than half of most sites' traffic is mobile, and "it looked fine on my monitor" is how you end up with a hero overlapping the navigation on every phone.
Common Pitfalls (Learned the Hard Way)
- Theme CSS conflicts. Your theme's stylesheet loads on every Elementor page, and its generic selectors (
h2,p,a,img) will fight your imported styles. Scope aggressively, and use your browser dev tools to see which rule is winning. - Elementor's own CSS regeneration. After major style changes, Elementor sometimes serves a stale generated CSS file. Elementor → Tools → Regenerate CSS fixes it. Bookmark that page.
- JavaScript timing. Scripts in HTML widgets run in the page context — if your script queries elements that Elementor hasn't rendered yet (common with lazy-loaded or popup content), it'll silently do nothing. Defer execution or hook into Elementor's frontend hooks.
- Font loading. If your HTML references Google Fonts or custom webfonts, enqueue them properly (via the Customizer CSS
@importor WPCode in the header) rather than assuming they're available. A fallback font stack in your CSS saves you from invisible-text flashes. - The "one giant HTML widget" trap. I said it before, I'll say it again: if the content needs ongoing edits by non-developers, convert to native widgets. Future you will be grateful.
Conclusion
You don't need Elementor Pro to work with custom HTML and CSS — you need the right workflow. For quick embeds, the free HTML widget with scoped <style> blocks gets you live in minutes. For pages that humans will maintain, convert your markup into native Elementor widgets via a JSON template import, and keep your CSS disciplined: layout in widget settings, exotic styling in scoped CSS, global rules in the Customizer or WPCode. And if the Pro Custom CSS panel is the one feature you're tempted by, try the free Advanced Custom CSS for Elementor plugin first.
The broader lesson from years of these migrations: the tool matters less than the structure. Clean, scoped, native-first imports survive theme updates, client edits, and your own forgetfulness. Sloppy copy-paste imports survive until the first redesign — and then somebody (probably you) rebuilds them from scratch. Spend the extra hour now; it's the cheapest hour in the project.
Frequently Asked Questions
Can I add custom CSS to Elementor without buying Pro?
Yes, several ways: scoped <style> blocks inside the free HTML widget, WordPress Customizer → Additional CSS for site-wide rules, the free WPCode plugin for conditional code, and the free "Advanced Custom CSS for Elementor" plugin which replicates Pro's per-widget Custom CSS panel including the selector keyword.
How do I import an HTML template into Elementor as editable content?
Use a converter tool (like ConvertElementor) to turn your HTML/CSS into an Elementor template JSON file, then import it via Elementor → Tools → Import/Export. Map your markup to native widgets (headings, text editors, images, buttons) rather than wrapping everything in one HTML widget, so the page stays editable.
Why isn't my custom CSS working in Elementor?
The four usual culprits: theme CSS overriding your selectors (increase specificity and scope your classes), stale generated CSS (Elementor → Tools → Regenerate CSS), caching plugins serving old stylesheets, and relative asset paths that break inside WordPress. Check them in that order.
Will JavaScript work inside Elementor's HTML widget?
Yes — <script> tags inside the HTML widget execute on the page. Just make sure your code runs after the DOM is ready, watch out for elements that render late (popups, lazy-loaded sections), and avoid loading heavy libraries like jQuery twice since WordPress already includes it.